Showing posts with label Tile. Show all posts

0 Cut to the Chase

>> Thursday, January 10, 2013

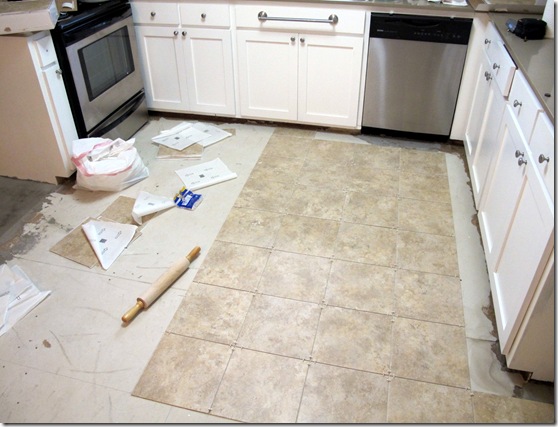
Demo? Check. Floor prep? Check, check! Once we finally began laying the tile, we kicked this floor rehab into high gear.
IMG_6310

The best part of any DIY project is that moment where you are far enough along where you can finally see what the final product will look like. After a ton of it-looks-SO-goods and a few why-didn’t-we-do-this-sooners, we started to realize that our days of laying perfectly square whole tiles was about to be substituted for the tedious task of cutting individual tiles to fit every edge and corner.

One big reason we chose the groutable vinyl tiles was because we would be able to cut the tricky pieces with a few runs of the jig saw…and jig we did, or jig he did, I should say. I measured, he cut. I thought the poor boyfriend’s hand was permanently attached to that stinkin’ saw after all the tiles were cut.

IMG_6311

After hours of measuring, peeling, sticking, rolling, measuring, & cutting, the last little tile found its home.

IMG_6312IMG_6315

Next up? Grout…but by this point in the game, a hamburger and glass of wine was looking like more fun.


Cara Signature

Read more...

2 Tile Time

>> Wednesday, January 9, 2013


We’re back at it in the kitchen. No rest for DIYers.


By this point in the overhaul, I was just about tired of looking at demo and was more than ready to start piecing my kitchen back together again. Yesterday, I left you with the door to the laundry room freshly framed.

IMG_6291


With just a couple more steps, the floor would be ready to tile. First, removing demo-ing the opening for the doors left the threshold uneven, so we cut a piece of plywood to make the floor more level, and followed with a layer of self-leveling compound to make sure the tiles will lay nice and flat across the threshold.
 IMG_6292IMG_6293IMG_6296


Once dry (it took about an hour) we were ready to tile. To save the trouble of having to lay the necessary layer of concrete board over the subfloor needing for ceramic tile, we opted to give Traffic Master’s groutable vinyl tiles a whirl. Thicker than most vinyl tiles, this bad boys look remarkable like their ceramic counterparts, he adhesive backing requires no messy mortar and since they are groutable, it’s dang near impossible to tell them apart—not to mention, you can make tricky cuts with a jig saw in no time. More on that later.

IMG_6299IMG_6298

Before we began peeling and sticking, we found the center of the room and laid out a few rows of tiles to make sure there wouldn’t be any awkward short pieces of tile bordering the edges of the room.

IMG_6300

This project brought with them several learning lessons for me. The biggest being, if you walk away from the camera, the boyfriend may take advantage of a sneak attack.


IMG_6301IMG_6302IMG_6304

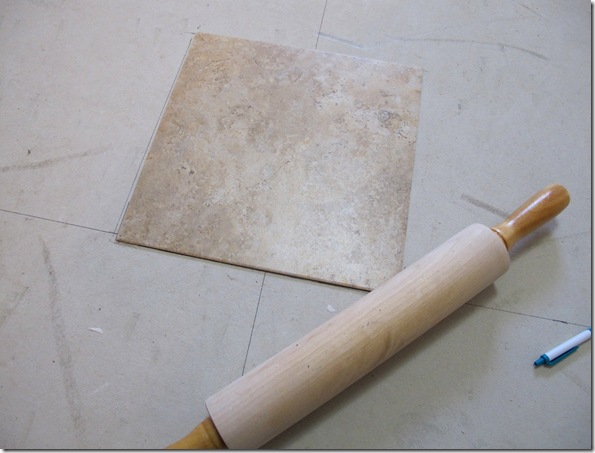
Once the center tile was in position, we just started peeling and sticking like crazy, using 1/8 inch tile spaces in between each tile and a rolling pin to make sure the tile adhesive set properly.

IMG_6306IMG_6308

IMG_6309

Check back soon to see how we tackled the tricky corner and edge pieces and to see the finished floor.

Cara Signature

Read more...

0 DIY Kitchen Backsplash: Day 1

>> Tuesday, April 10, 2012

A tile backsplash is one of the easiest ways to add that extra little punch to your kitchen, and I swear to you when I say it is easy. Even if you’ve never DIY-ed anything even closely related to tile, you can do it. I promise. Tiling is very simple for the most part and since you don’t have to worry about hiccups like uneven subfloor (like you would for a floor tile project), knocking out a kitchen backsplash is a great tiling DIY for beginners.

Let’s visit my very own construction site for an example. I went with white ceramic subway tile for my backsplash and of course I’m stubborn enough to want to install it myself.


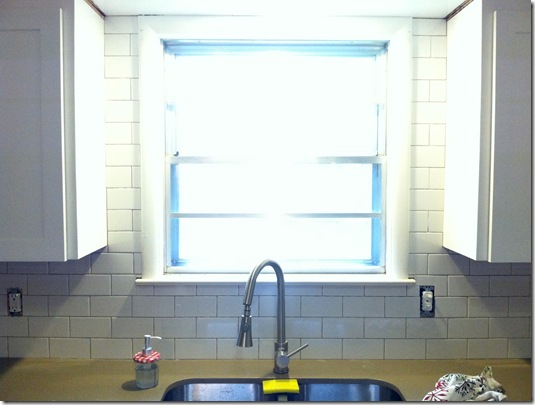
I wanted to make double sure the tiles behind the sink were centered since this area is the focal point of my kitchen, so that’s where I started. Using premixed mortar and a notched trowel, I spread the mortar into place and started placing the tiles.

Kitchen Backsplash_3
Kitchen Backsplash_1
Kitchen Backsplash_2

These tiles had built-in spacers, so there was no need for any additional separators which made popping the tiles into place a breeze. Also, I picked up a $20 tile cutter to break the tiles down to size when necessary.

Kitchen Backsplash_5

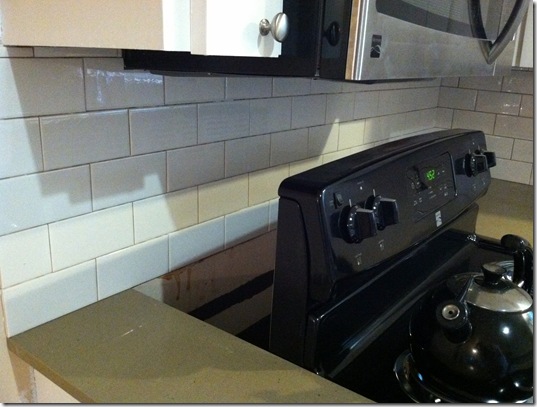
Behind the range…

Kitchen Backsplash_10Kitchen Backsplash_4

I thought about leaving the backsplash low, ending just above the windowsill, but after a lot of thinking (and a little advice from two wonderful girls named Jessica) I took that baby to the top! Good call.

Kitchen Backsplash_7Kitchen Backsplash_8

Once all of the tiles were in place, the mortar needed to set overnight. Meet me back here tomorrow and we’ll throw a little grout into the mix and call this DIY a wrap!

clip_image002

Read more...

3 On a Reno Roll

>> Monday, February 27, 2012

I’m seriously kind of shocked at how quickly this kitchen reno is moving along. Granted I am able to work most mornings from home, so I do have the ability to let contractors in and out between phone calls and emails—not to mention, after work is a wrap for the day, I would much rather putter around with a paintbrush in my hand than plop down on the sofa…mainly because when I plop, I sleep—but all that aside, this bad boy is rolling right along at a killer DIY pace.

Up next, one fantastically fabulous backsplash!

image

I’m a sucker for subway tile of all shapes and sizes, so this choice was a no brainer. With just a few more odds and ends to check off the old to-do list before I start slapping these little ceramic beauties into place (a little electrical here, a little removal of disgusting pink backsplash remnants there) and this DIY backsplash project will be a wrap.


IMG_3174IMG_3175


clip_image002

Read more...
Related Posts with Thumbnails

  © Blogger template Simple n' Sweet by Ourblogtemplates.com 2009

Back to TOP