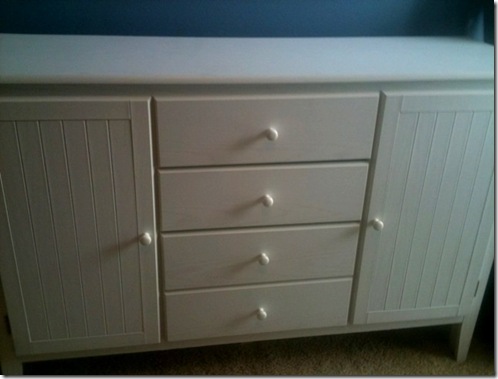
Not long ago, Amy’s friend Kelly submitted Amy’s soon-to-be-with-us son Owen’s dresser to LTHL for a furniture flip—are you still with me? Long story short, I was thrilled for the chance to wrap my mind around baby Owen’s dresser. Not since little Dean’s miniature chair have I had the opportunity to whip up a nugget-sized creation.
Before we get down to all of the glorious rehabilitating, let’s revisit Kelly’s email…
| | Okay, crafty lady! My friend Amy has an old dresser she wants to redo for her nursery (she's due in October). She has bedding that has lots of different prints and colors and wants the dresser to be fun. She's been checking out LTHL and loves your ideas! |
Craving color? Coming right up! And it has to be said that I could barely contain my enthusiasm after catching a glimpse of little Owen’s bedding. Dance moves were involved…
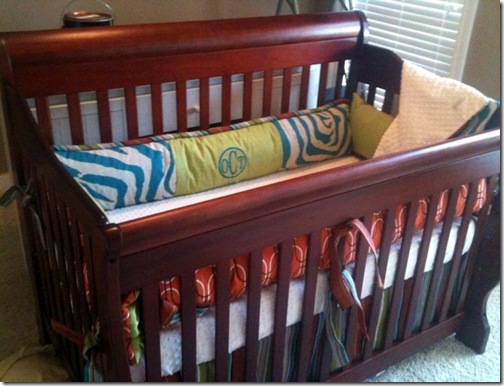
So cute, right? Let’s get down to business.
First up, a quick sketch to get my creative juices flowing and a feel for the details of the piece. Right away, I loved that the dresser had vertical stripes similar to the crib frame and zebra print bolster.

Next up, the color palate. With so many fun and vibrant colors to pull from the bedding, this part was a cinch.
Helpful hint: Take the colors used in the fabrics in your room and water them down a bit for furniture. A bit more subtlety will tie the furniture with the feel of the room without becoming a blinding eye sore.

Now, what goes where…

A quick outline for the how-to…
1 & 2: Dresser Base
Paint the top of the dresser & every other stripe on the door front white and keep the base of the dresser a cool cucumber.
3: Cabinet Doors
Paint the remaining stripes (those that aren’t already dedicated as white) a light shade of blue and frame the outside with a slightly darker shade of the same hue.
4. Drawers & Pulls
Using the same lighter shade of blue, give the drawers a good coat or two and finish with eye-catching pulls, like these guys from etsy.
A big thanks to Kelly, Amy & baby Owen for allowing me to take a crack at this one. My whimsical furniture craving is more than filled thanks to your nursery needs. Happy painting!

Read more...